Hey guys,
somebody has convincingly shaken my cage to look at some NFS:HS addons so I had to get all the dust off my harddrives, my software and all that. NFS:HS is getting closer to being 30 years old so it might be useful to keep knowledge together.
Currently, I'm running an MSI gaming laptop from 2018 that is incompatible with Windows 11, with Windows 11 and the first step for me was, after messing with Z-Mod, to get NFS Wizard back to life.
Technically, you can find solutions to get NFS Wizard running on Win11 in former threads, I felt like a short heads-up in this place might help.
After downloading and installing NFS Wizard or simply copying the files from a former installation, I ended up with it opening up with several errors about system rights and folder permissions, eventually crashing 50% of the time, and a non-working 3d preview.
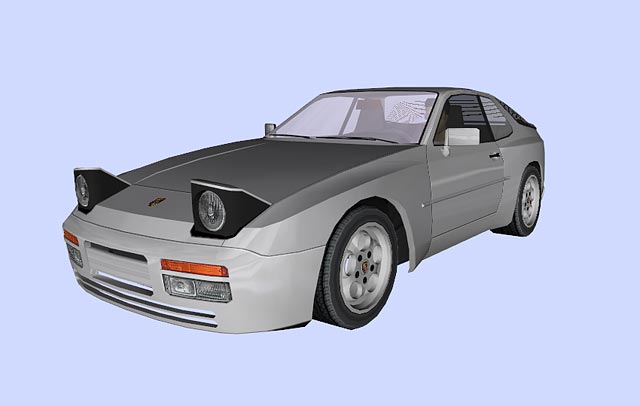
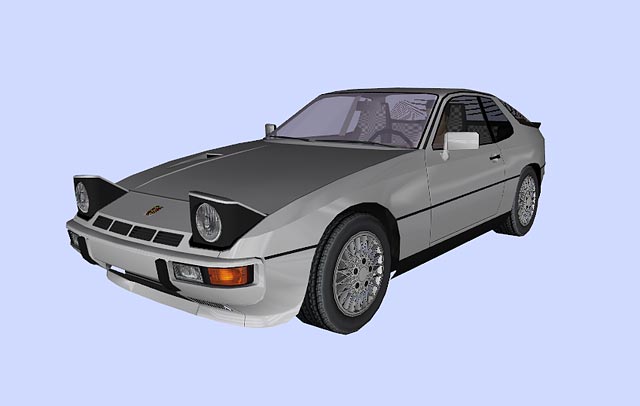
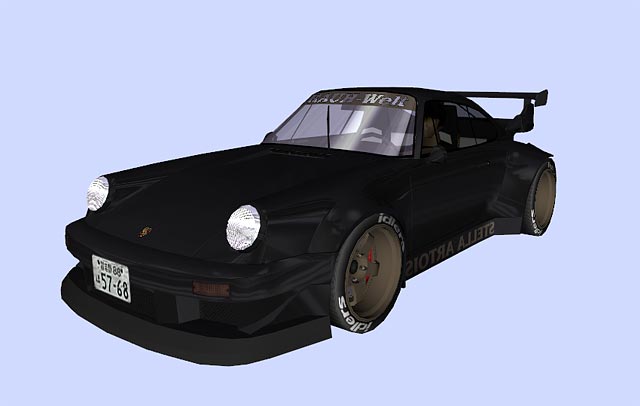
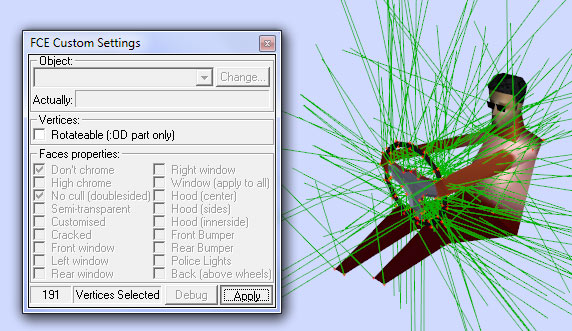
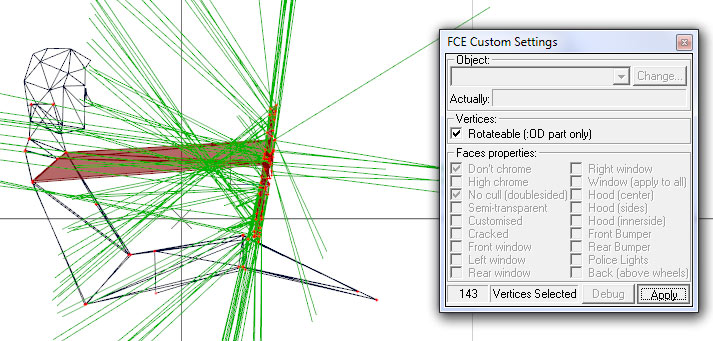
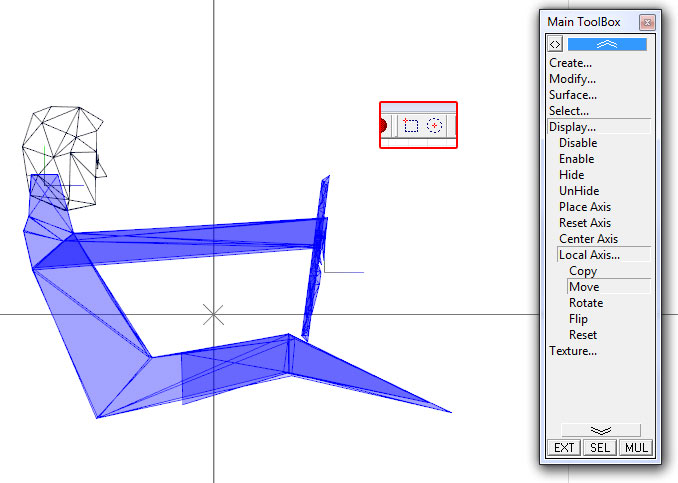
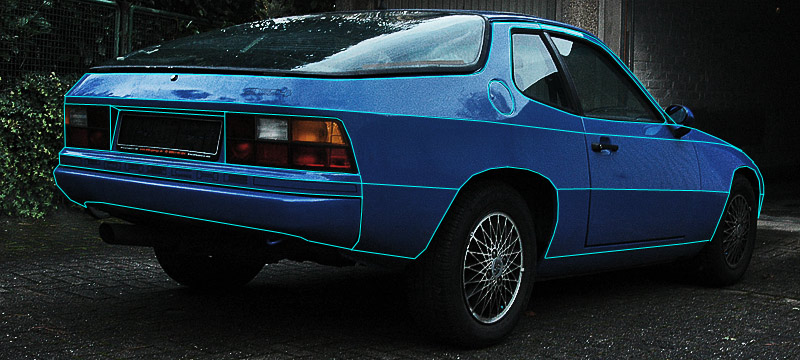
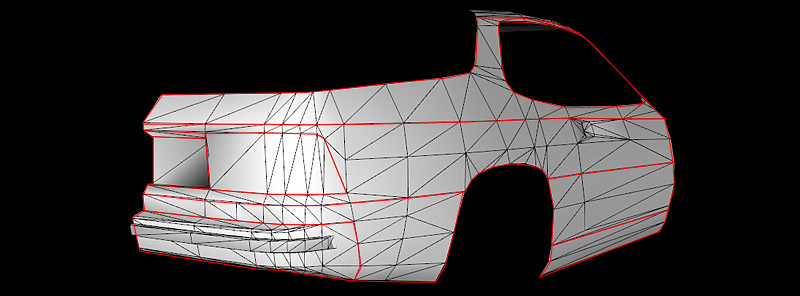
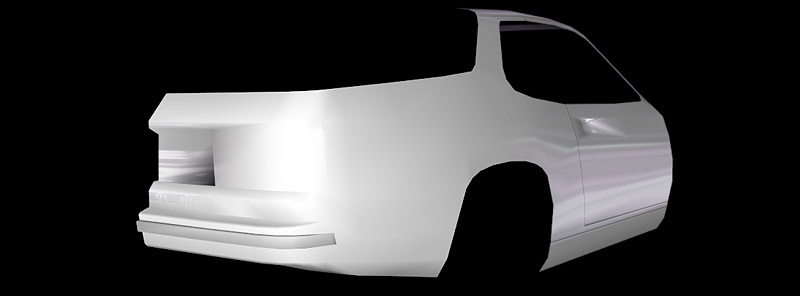
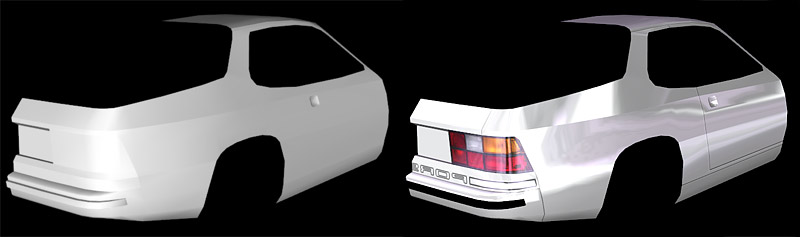
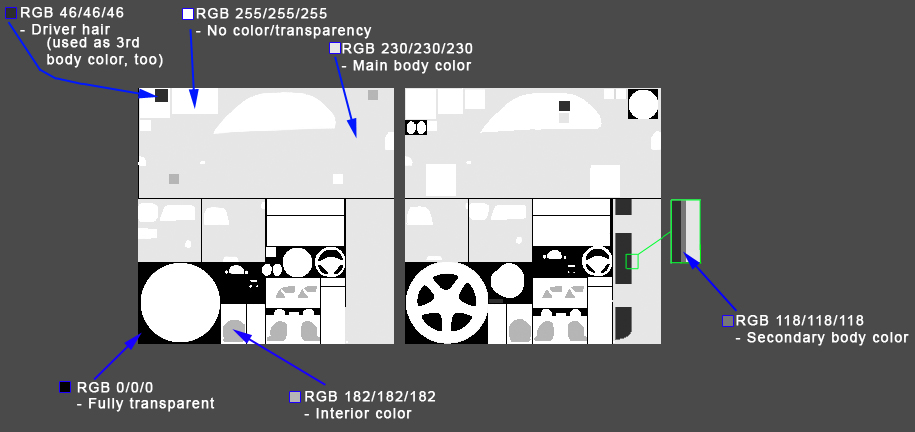
I always found NFS Wizard helpful to quickly check the Addons, the geometry and the colors trough the DX preview. What worked for me was, to put the nfswiz.exe on compatibility mode (Win XP SP3) & administrator rights when run plus adding the attached .dll files in the main directory of it. Now, I can easily open up *.viv files again, view the geometry, with textures, color schemes and listen to sound samples.
Hope this works for you guys,
greetings
Freak-DS
somebody has convincingly shaken my cage to look at some NFS:HS addons so I had to get all the dust off my harddrives, my software and all that. NFS:HS is getting closer to being 30 years old so it might be useful to keep knowledge together.
Currently, I'm running an MSI gaming laptop from 2018 that is incompatible with Windows 11, with Windows 11 and the first step for me was, after messing with Z-Mod, to get NFS Wizard back to life.
Technically, you can find solutions to get NFS Wizard running on Win11 in former threads, I felt like a short heads-up in this place might help.
After downloading and installing NFS Wizard or simply copying the files from a former installation, I ended up with it opening up with several errors about system rights and folder permissions, eventually crashing 50% of the time, and a non-working 3d preview.
I always found NFS Wizard helpful to quickly check the Addons, the geometry and the colors trough the DX preview. What worked for me was, to put the nfswiz.exe on compatibility mode (Win XP SP3) & administrator rights when run plus adding the attached .dll files in the main directory of it. Now, I can easily open up *.viv files again, view the geometry, with textures, color schemes and listen to sound samples.
Hope this works for you guys,
greetings
Freak-DS